
HRC20 Tokens
Creating and using HRC20 tokens
function name() constant returns (string name)
function symbol() constant returns (string symbol)
function decimals() constant returns (uint8 decimals)
function totalSupply() constant returns (uint256 totalSupply)
function balanceOf(address _owner) constant returns (uint256 balance)
function transfer(address _to, uint256 _value) returns (bool success)
function transferFrom(address _from, address _to, uint256 _value) returns (bool success)
function approve(address _spender, uint256 _value) returns (bool success)
function allowance(address _owner, address _spender) constant returns (uint256 remaining)
event Transfer(address indexed _from, address indexed _to, uint256 _value)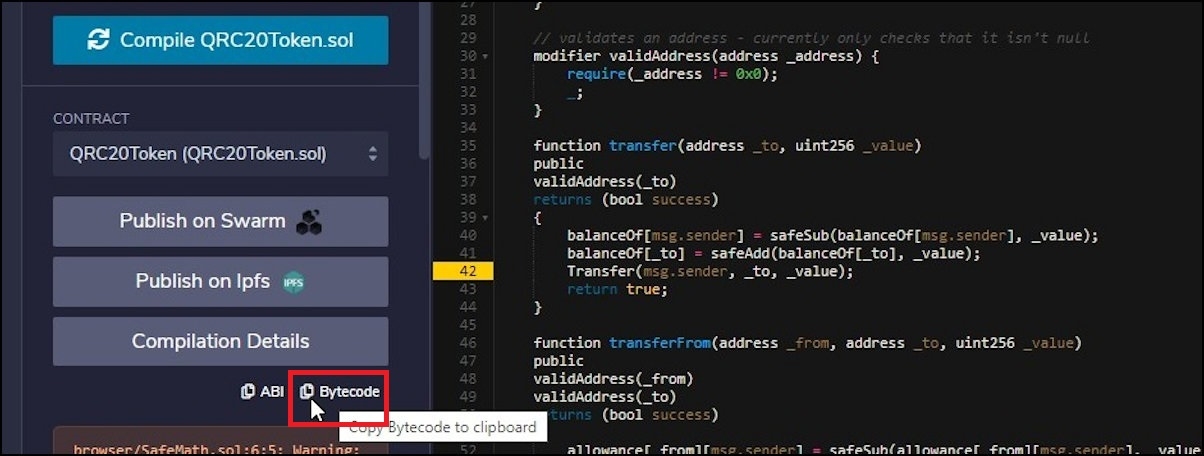
event Approval(address indexed _owner, address indexed _spender, uint256 _value)Creating HRC20 Tokens

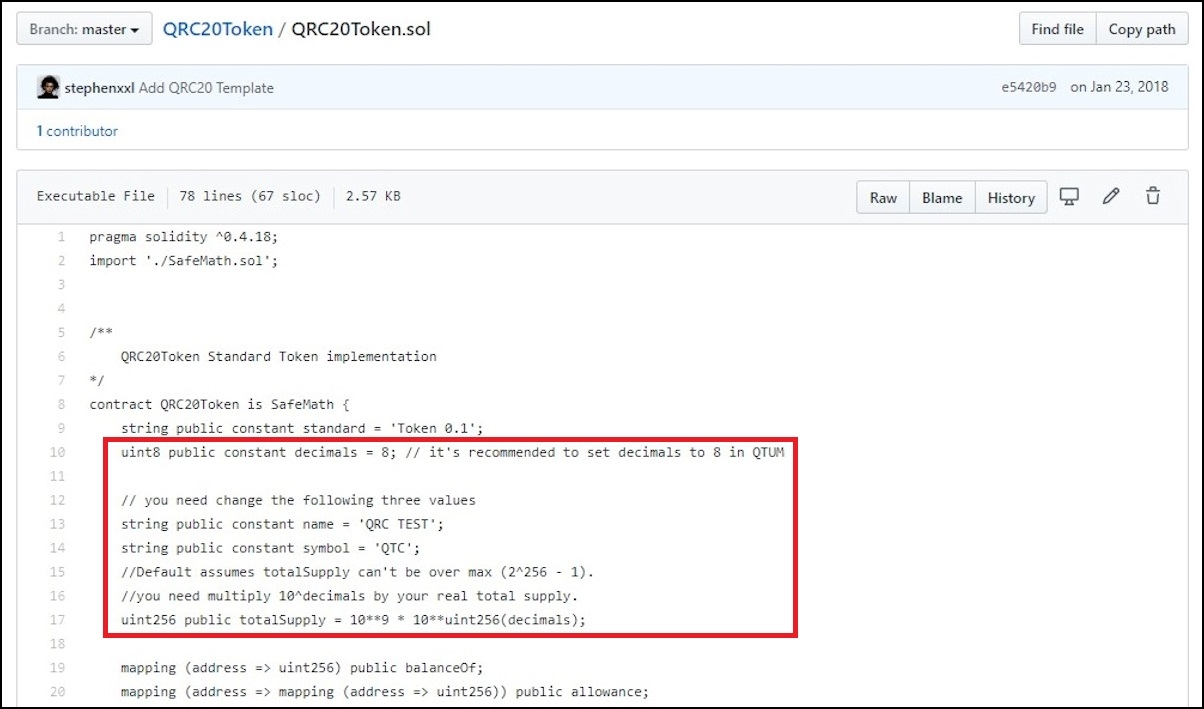


Adding Tokens


Sending Tokens


Enable Log Events

Multiple Tokens in Wallet
Contract functions


Last updated
Was this helpful?